8 Tips Every DIY Painter Needs To Know
/
Whether it’s painting your own room, decorating a nursery or even just touching up some run-down looking doors, painting can be an exciting process and if done correctly, you can transfer your next project into a work of art. There’s a lot of work and preparation that needs to be done before you start painting, as poor preparation can compromise the final result and the life of the paint. So what do I do first? What do I need to know before I start painting? Well, Ben France from City in Colour has shared with us 8 handy tips every do-it-yourselfer should know before starting your next project.
1. Remove foreign objects: If you’re looking at painting your wall, you’ll need to remove anything that is hanging on, or near the area you plan on painting. This includes hooks, hanging pictures, clocks, light switches and blinds. These are fairly easy to take on and off and it will save you a lot of hassle in the future. Because the last thing you want to do is get paint on a family portrait or a new set of blinds that you just had installed.
2. Fill any cracks with filler: Make sure there aren’t any cracks or imperfections in your wall before painting. Painting over a small crack can actually turn into an eyesore, as the paint will make it stand out and become more visible. So the best thing to do is fill any imperfections with a top coat filler. Ben recommends Polyfilla, which is only 8-10 dollars and is available at Bunnings and some hardware stores. You don’t have to be conservative when filling cracks or small holes, as the more filler you use, the better. Because the next step is sanding it down, so don’t worry if it looks lumpy.

3. Sand the wall: Regardless if your wall needs a filler or not, you will still need to use sand paper to sand it down until smooth. The roughness of the paper you’ll need to use will depend on the condition of your wall. You don’t have to spend too much time sanding because a light sand is all you need. The point of sanding is to smooth the wall and get rid of any dust or dirt that is stuck to it, so don’t worry about scratching off any current paint. Painting over dirt will only give it a grainy ‘sandy’ look that will reflect the quality of the job. A nice smooth finish really makes a difference when it comes to painting.
4. Avoid using tape: You may think that using tape will protect any grooves or edges that you want to keep dry, but chances are, the tape will rip and remove the current coat you have just applied because the paint will stick to the tape.
5. Edging: A paint roller for large areas can’t paint around the top, bottom, edges or frames of a wall/window properly. So a good substitute for tip 4 is to just use a good quality brush to get into those hard to reach places for edging. This might be time consuming, but it makes an amazing difference. Avoid using a cheap $2 brush for edging, because brittle brushes often leave a streak after painting, so it’s definitely worth paying a little extra and buying a good quality brush that will give it that perfect finish. Ben recommends doing the edges first and then finishing the rest of the area off with a paint roller.

6. Cover the floor..and yourself: Be prepared to get dirty when it comes to doing a painting job. Wear old, worn out clothes that you don’t mind getting paint on and wear a hair net if you have long hair. You’ll also need to cover the floor with sheets to avoid accidental drops of paint on your floor or carpet. Newspaper is a good idea, but each sheet of paper can get stuck together if paint gets on it, so the best material to use is just an old bed sheet that you are no longer using.
7. Use a paint roller: Once everything has been prepared and edging has been done, you can now finish the job! Since walls are a large area, it will save you a large amount of time by using a paint roller. It will give you a great finish and it’s just as effective as doing it by hand, except it will save you half the time.
8. Finishing off: Use a damp microfiber cloth to finish off the job. This will remove any streaks or hand prints that might have been placed while painting. The microfiber cloth will also remove any dust that may have stuck to the wall in the process. Finish it off by removing any water marks with a DRY microfiber cloth. Once you’re happy with the result, keep the door closed and let the paint dry. It can take several hours to dry, but it depends on the type of paint you use.
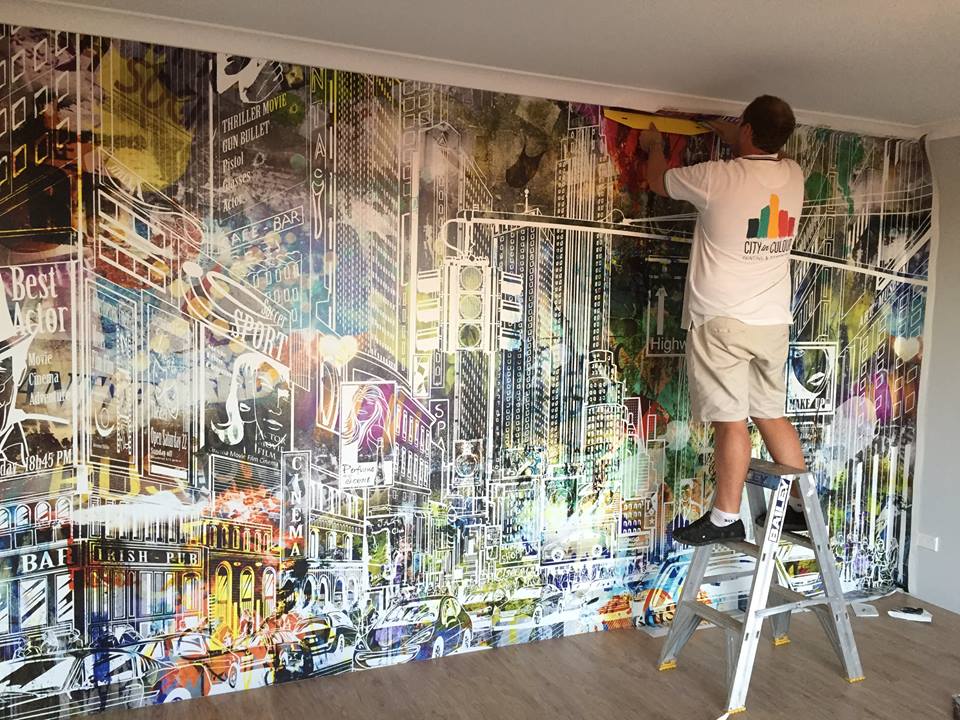
If you have a job that is too big for you to do on your own, or you don’t want to risk making any mistakes, let City in Colour do the hard work for you. Ben has been painting for over 10 years and knows all the ins and outs when it comes to choosing the correct colour, what paint brush to use and what after-care needs to be applied. If you would like a professional job, give Ben from City in Colour a call and be amazed with the results.
They’re open Monday – Friday from 7:00am – 5:00pm and are closed weekends.
Phone 0408 915 910.